
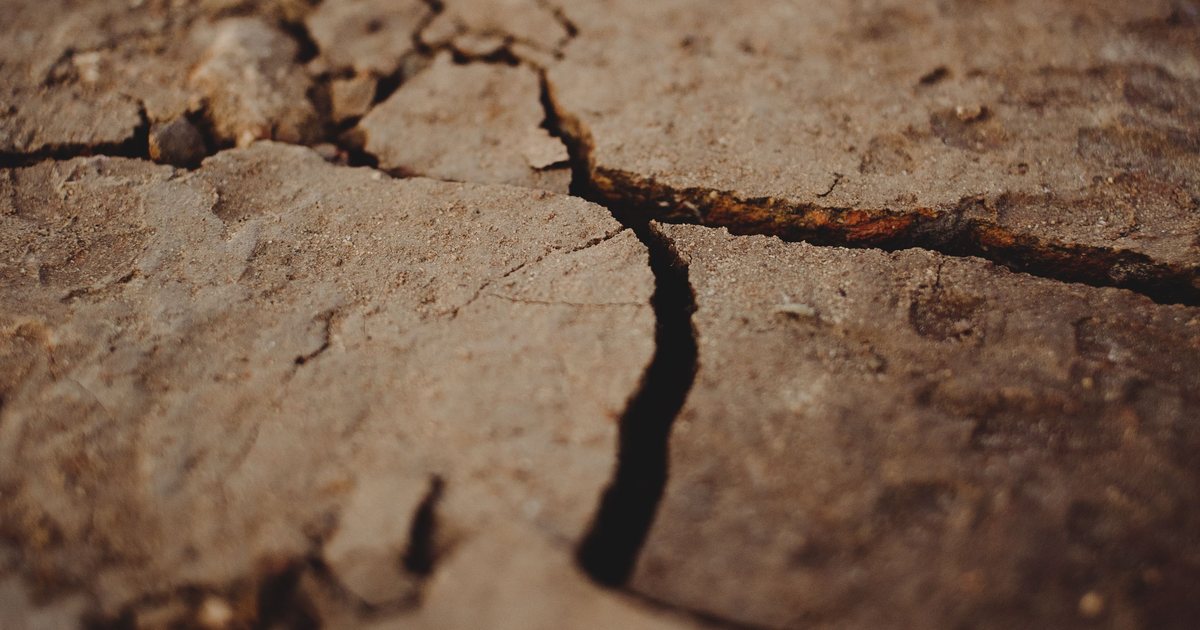
I noticed it on a morning walk across the lawn with a coffee in hand, more by feel than by sight — a spot underfoot that didn’t have the usual give, more like stepping on a strip of stiff cardboard hidden under the blades. Kneeling down and parting the fibers showed why: this showed up differently than a typical seam gap — instead of the two pieces pulling apart, a hairline split had opened directly through the backing material right along the seam line itself, about a foot and a half long, with the tape underneath still bonded on both sides. Running a finger along it, the edges were sharp and slightly raised rather than frayed the way a chewed or worn edge would be, which was the first clue this was a crack in the material itself and not a bond pulling apart. Best I can tell it had been there a few weeks — I don’t walk that exact stretch daily, and nothing about it was visible from a normal standing view, only underfoot.
A Split Is a Different Failure Than a Gap
A gap (covered elsewhere on this site) is a tension problem — the bond held, but the two pieces of turf pulled away from each other. A split or crack right at the seam is a different mechanism: it’s the backing material itself failing, usually because the adhesive cured unevenly, leaving a rigid, over-compressed ridge right at the seam line instead of a flexible bond. That ridge becomes a stress point every time the ground shifts slightly or the material expands and contracts with temperature, and eventually the backing cracks right along that stiff line rather than flexing with the rest of the lawn. Uneven weighting during the original cure (heavier in the middle of the seam than at the ends, for instance) is a common cause — it compresses part of the bond more than the rest, and that inconsistency is exactly where a later split tends to start.
In a climate this hot and humid, there’s a second factor that tends to make an uneven cure worse rather than just leaving it uneven: adhesive that’s still tacky when the afternoon humidity climbs cures more slowly wherever the spot happens to be shadier or damper that day. That’s often the same stretch that already has more weight sitting on it, so the two effects stack instead of cancelling out — the heaviest-pressed section is also the slowest to fully set. By the time the rest of the seam has cured, that one stretch has effectively hardened under different conditions than everything around it, and it’s usually the spot where a split shows up months later.
Repairing a Split Seam
- Cut back the turf on both sides of the split by about six inches past the cracked section, since a repair patch needs healthy backing on both sides to bond to.
- Removed the old adhesive and tape residue from that section entirely, rather than trying to seam over the cracked area.
- Fit a fresh strip of seaming tape under the gap, checking that both edges sat flush and the pile direction matched before applying adhesive.
- Weighted the repaired section evenly across its full length this time — using several boards of consistent weight spaced along the seam rather than one heavier weight in the middle — specifically to avoid recreating the uneven compression that likely caused the original split.
It would have been faster to just work a bead of adhesive into the crack itself and press it flat, and I’ll admit I was tempted. That shortcut only holds until the next temperature swing, though, because it glues a patch on top of the rigid ridge instead of removing it — the same over-compressed spot is still sitting underneath, and it tends to crack open again a few inches to either side rather than at the exact same line, which makes the repair look like it failed for a new reason when it’s really the same cause. Cutting back far enough to reach flexible, healthy backing on both sides is what actually removes the stress point instead of just hiding it under fresh tape. If the split happens to fall on a curved seam, say around a planting bed border, the process is the same, it just takes more care fitting the tape around the curve so there’s no gap left under the new patch to start the problem over again.
Why Even Weighting Matters More Than It Seems
If you’re doing any seam work yourself, spend the extra few minutes making sure whatever you’re using to weight the curing adhesive is applying consistent pressure along the entire seam length, not just resting wherever is convenient. An uneven cure is invisible on the day you do the work and can take months to show up as a crack, which makes it easy to blame the material instead of the compression step that actually caused it.
Telling It Apart From Sun-Damaged Blades
“Cracking” gets used loosely enough in this space that it’s worth being specific about which problem this actually is. What’s described above is the backing splitting at a seam — a structural failure in the material joining two pieces of turf together. It’s a different problem from individual blades going brittle and snapping off after years of direct sun, which shows up as short, broken fiber tips scattered across an open patch of lawn rather than a line tracking along a seam. If what you’re looking at is fibers breaking off across a wide area instead of a crack running through a seam, that’s a UV and wear issue with the blades themselves, and it isn’t something a seam repair fixes.
As for how long a repair like this should hold: the patched section here has now gone through a full summer of afternoon heat with no sign of a new split, which is about as good a read as I can get, since a DIY seam repair doesn’t come with any kind of warranty — time is the actual test. If I were paying someone to handle this instead of doing it myself, I’d expect it to run a couple hours of labor plus the cost of tape and adhesive, since most of the work is the careful cutting and cleanup rather than the gluing itself. It isn’t a job that calls for any special certification, just patience through the weighting step above — which, going by what caused the original crack, is exactly the part worth not rushing.