
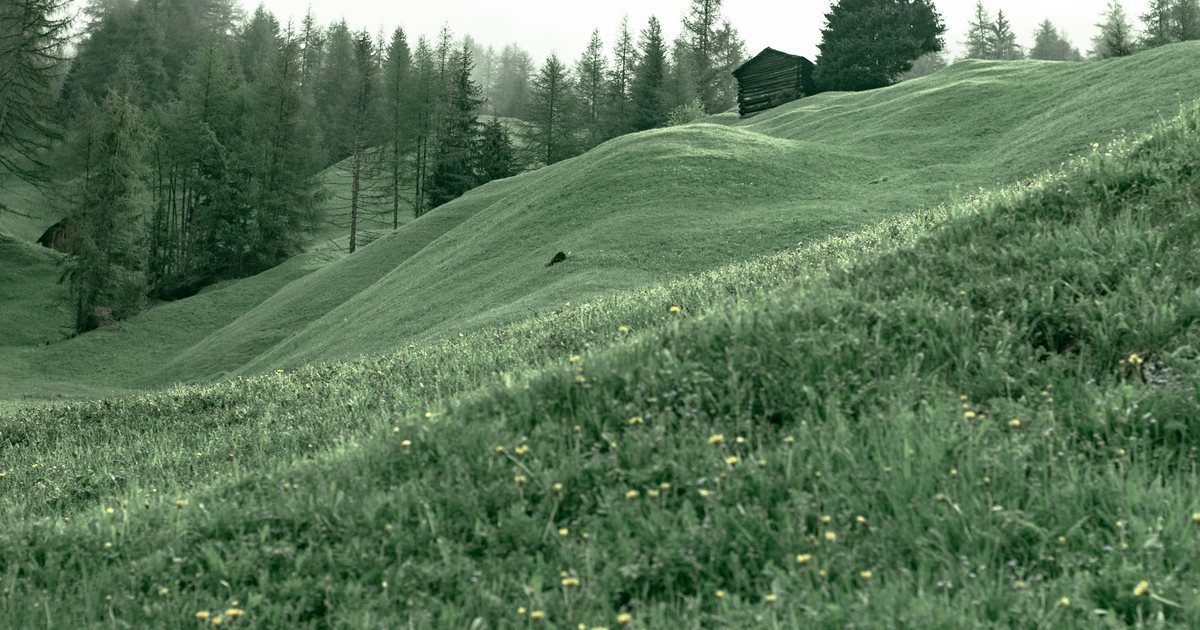
There’s a graded strip connecting our driveway down to the backyard level, maybe a six-foot rise over twelve feet of run — not steep enough to think twice about, or so I assumed when I put the turf down. What tipped me off wasn’t a dramatic gap or a torn edge — it was the seam line at the bottom of the slope no longer running straight. I’d walked that strip almost daily for months without noticing a thing, right up until the first real downpour of the season, about four months after installing it. The next morning, doing my usual walk-through after rain to check the drainage was doing its job, I noticed the seam had gone from a clean straight line to a shallow curve, like the whole sheet had been nudged sideways-and-down at once. I pressed a boot heel into the bunched section near the bottom edge and could feel the backing shift slightly under light pressure — nothing was torn, it had just crept. Measuring against a chalk line I’d marked at install, mostly out of habit, the turf had moved about two inches downhill, bunching slightly at the bottom edge where it met the paver border.
Why Gravity Wins on a Slope Even With Normal Fastening
On flat ground, standard fastening spacing (nails or staples every 6 to 12 inches) is plenty, because the turf isn’t under any constant directional pull. On a slope, gravity is pulling the whole sheet downhill all the time, and water running down during rain adds extra force on top of that — normal spacing just doesn’t have enough grip points to resist that combined load indefinitely, even though it looks perfectly secure on a dry, calm day.
There’s a second factor that made it worse on this particular slope: infill migration. On the flat sections of the yard, the sand and rubber infill mostly stays put, and its weight helps pin the backing down between fasteners. On the graded strip, every heavy rain washed a little more infill toward the bottom instead of leaving it distributed evenly, so the middle and top of the slope carried less ballast weight over time even while the downhill pull on the fastening points stayed constant. Less weight holding the backing down between nails means more of the load falls on the nails themselves — exactly the kind of slow, compounding problem that doesn’t show up as visible damage until one big rain finally moves things enough to notice.
What Actually Held It
- Pulled the turf back up to its original position and re-tensioned it from the top of the slope downward, stretching slightly tighter than I had the first time.
- Doubled the fastening density for that section — nails every 4 inches instead of the 6 to 8 I’d used on the flat parts of the yard.
- Ran a bead of landscape-grade adhesive along the base at the bottom of the slope specifically, as a backstop even the tighter nailing wouldn’t provide on its own.
- Checked that the base underneath hadn’t eroded from the rain runoff — it had shifted slightly, so I re-compacted it before re-fastening rather than nailing into a base that was already loosening.
I considered skipping the adhesive and just going heavier on the nails — closer to every 2 inches rather than 4 — but that’s not really a fix for the right problem. Nails resist the sheet sliding along the base; they don’t do anything about the base itself settling or washing out underneath it, and driving more nails into a base that’s still loose just gives you more failure points sitting in material that’s still moving. The adhesive bead backs up the nailing right where the load concentrates most, at the bottom of the run, and re-compacting the base first meant the new nails were anchored into something solid instead of into soil that had already started separating from the compacted layer above it.
It’s been through two more heavy-rain stretches since with no further creep.
Creep vs. a Seam That’s Actually Failing
It’s worth being clear about what this wasn’t, because the two get lumped together and the fixes aren’t the same. A seam that’s actually failing usually shows a gap opening between two pieces of turf, with the seam tape or glue visibly separated and the cut edges fraying or curling back. What I had was different: the seam line stayed intact — it just moved as a unit, tape and all, rather than pulling apart at the joint. A gap with fraying edges is a seam repair, and tighter fastening on a slope won’t touch it. A seam that’s still intact but has drifted out of line with a straight edge nearby, like a paver border or a fence run, points to creep instead, and it’s the base and fastening pattern that need the attention, not the seam itself.
Getting It Right From the Start
If any part of your yard has even a gentle grade, treat that section differently from the flat parts during installation — tighter fastening spacing, a bead of adhesive at the base of the slope, and a check of the base compaction specifically at the bottom where runoff concentrates. It’s a lot less work to over-fasten a slope up front than to catch a shifted section after the first big storm. Timing matters too — I did the re-fastening in a dry stretch between storms, and I’d plan any slope work the same way going forward: before the heaviest rain of the season rather than after it, since re-compacting a base that’s already been soaked for weeks means working with mud instead of soil, and that’s a much bigger job than the one I actually had.